
A fur coat is one of the most striking garments you can own. Yet a good fur coat photo depends on one thing above all else: the right light. Get the light right and the camera finally sees what you see.
3 min read | Fur Coat Photo | Styling Tips | Social Media
Article Summary
People often say a photo never captures the real thing. With a fur coat, that gap feels especially wide. The depth, texture and layered richness of real fur are hard for most cameras to reproduce.
A perfect fur coat photo is still within reach. You do not need a better camera or a professional photographer. You need the right lighting, and there are two setups that work every time.
Option 1: Indoor White Light
Controlled and Consistent
- Clean white light shows true fur color and depth
- Ideal for showroom, hotel or event settings
Option 2: 2–3 PM Outdoor Light
Naturally Flattering
- Bright sun without the harsh glare of noon
- Flatters both skin tone and fur texture
Why a Fur Coat Photo Is So Hard to Get Right
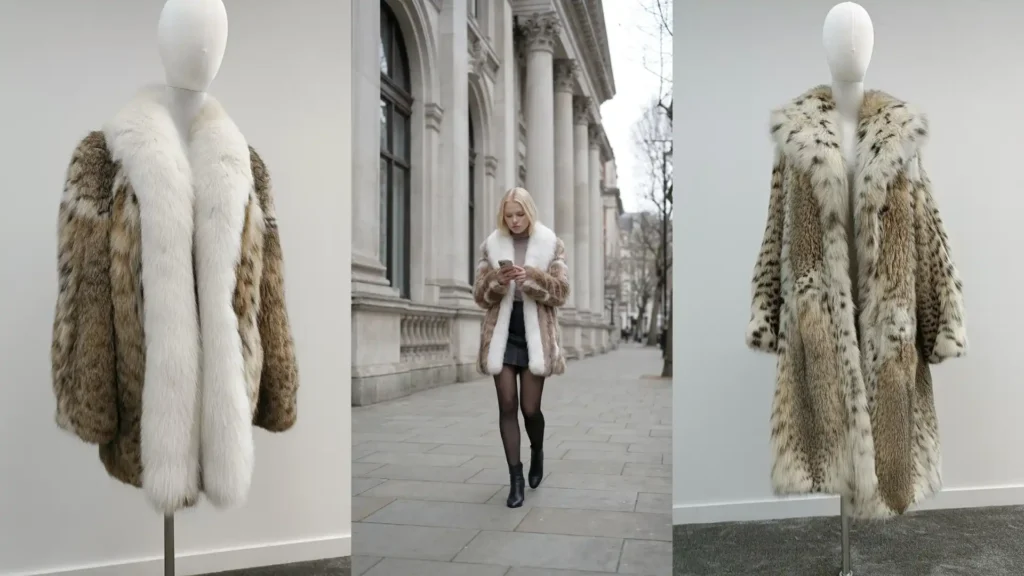
Fashion people say a photo can never fully match reality. Nowhere is this truer than with fur. The magic of real fur lies in its layers. Each hair catches light at a slightly different angle. The depth of the coat shifts as you move.
Most cameras, including good smartphone cameras, flatten that depth into a single plane. The result is a fur coat photo that looks dull next to the garment itself. That is why we always invite clients to see the fur in person at our Hong Kong showroom.
Lighting: The Only Variable That Really Matters
Before you think about angles, settings or editing apps, think about lighting. It decides whether a fur coat photo succeeds before you even press the shutter. Everything else is secondary.
A modest camera in the right light beats a professional camera in the wrong one. The good news is that ideal light is neither complicated nor expensive. It comes in two forms, one indoors and one outdoors.
Fur Coat Photo Tip 1: Proper Indoor White Light
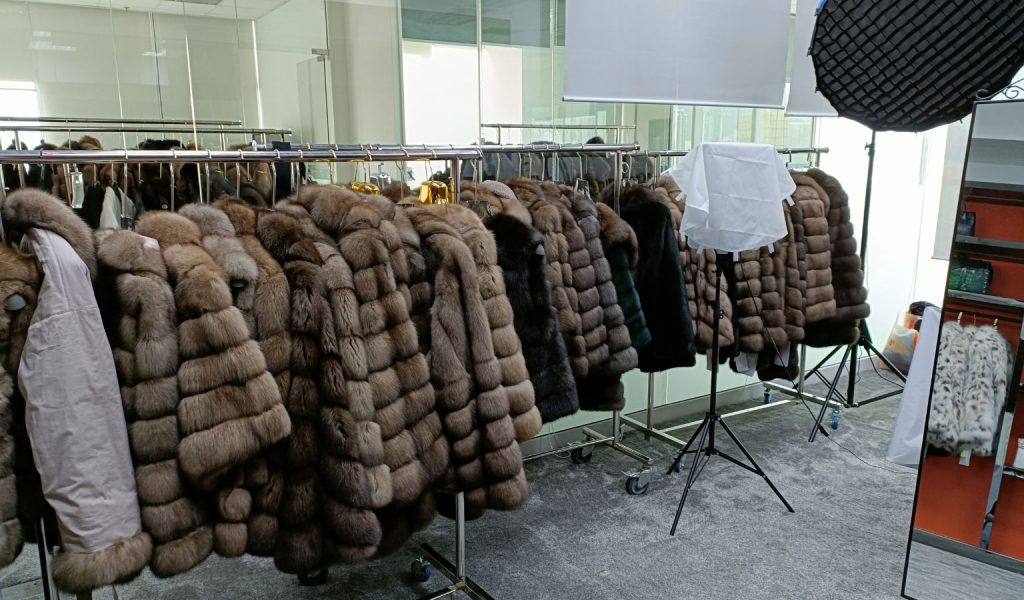
Indoors, the quality of the light source matters most. Look for clean, even white light. Good showrooms, bright hotel lobbies and modern event venues usually have it. White light renders the true color of the fur and lets the camera pick up its texture.
Warm yellow light casts an orange tone over the fur and flattens detail. Dim light loses the texture entirely. If the light does not look white and even, move toward a window or a brighter room first. Accurate color matters, as we explain in the truth about fur coat color correction.
Good white light is the closest any indoor fur coat photo can get to how the garment really looks in person. That is exactly what you want to share.
Fur Coat Photo Tip 2: The 2–3 PM Window Outdoors
If you love shooting outside, aim for the early afternoon, between 2 PM and 3 PM. By then the sun has moved past its highest point. The light is still strong and clear, but it falls at more of an angle than at noon.
This window does two things at once. It brings out the warmth and texture of the fur. It also gives skin a natural, flattering glow. Both the person and the coat look their best, which is harder than it sounds.
Avoid direct overhead sun around midday. It bleaches color from the fur and casts hard shadows on the face. Your fur coat photo will look washed out rather than luxurious.
The Formula for a Perfect Fur Coat Photo
Lighting is the variable that matters most. Camera, editing and pose all come second to finding the right light.
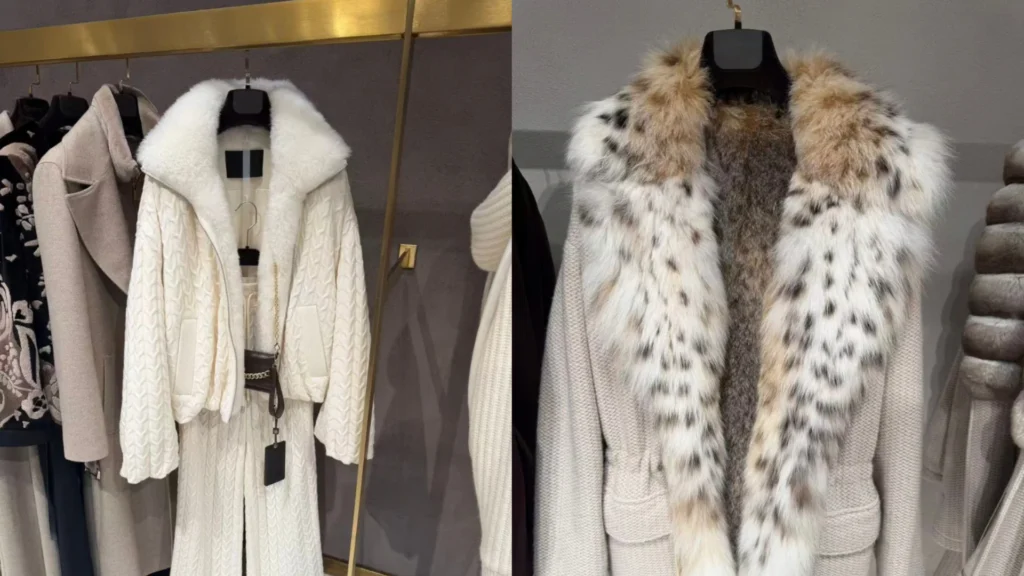
Indoors: find white light. Clean, even white light shows true fur color and reveals texture and depth.
Outdoors: shoot between 2 PM and 3 PM. You get strong natural light without the harsh noon glare, so the fur looks as rich as the real thing.
Ready to find a fur coat worth photographing? Browse J&A International’s women’s collection of European fur. Every piece is CITES certified. Contact us to arrange a showroom visit.